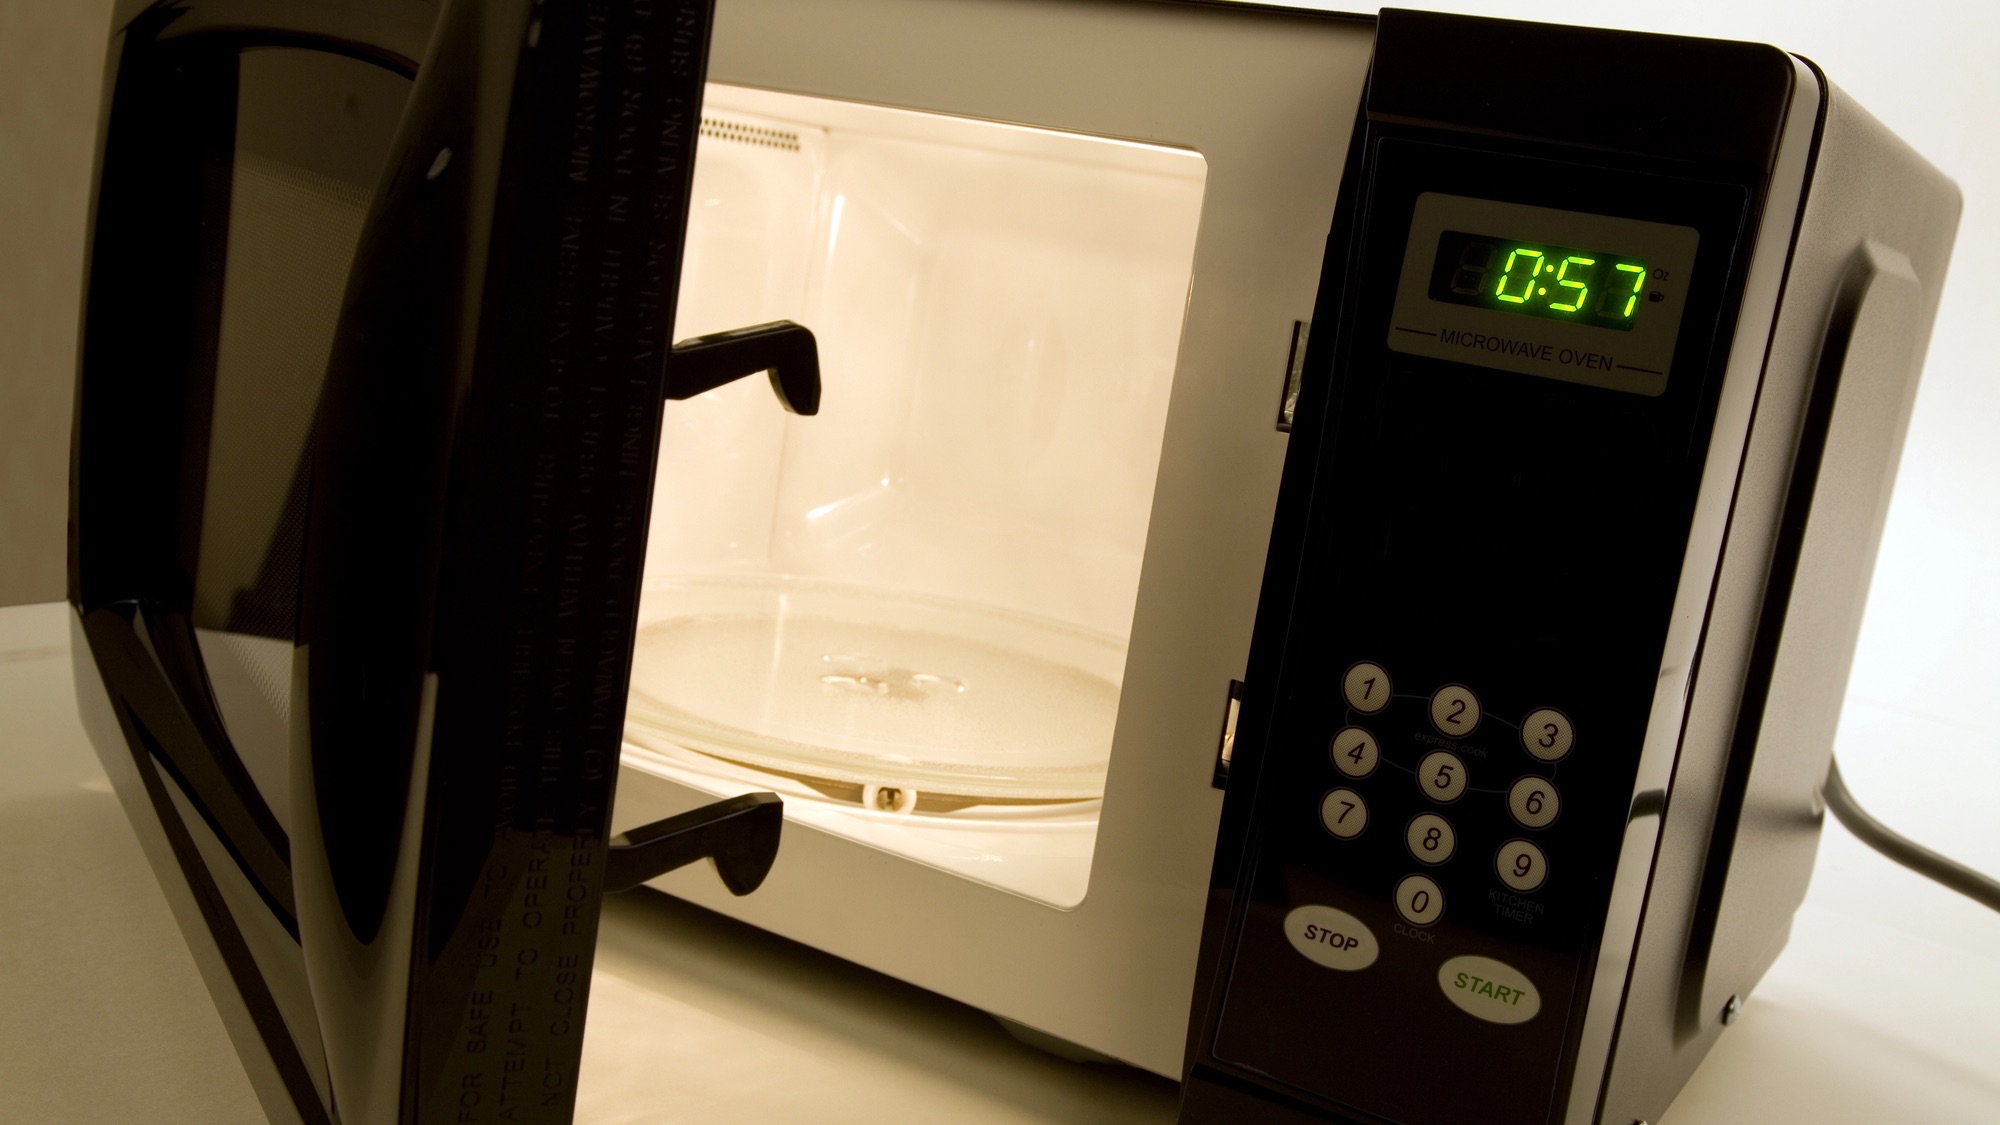
Deep cleaning your microwave often falls low on the list of household cleaning priorities—unless, of course, you’ve just faced a tomato soup explosion or a butter-softening mishap. It’s one of those appliances we tend to overlook unless there’s an obvious mess. However, even a seemingly harmless mess in your microwave isn’t just unsightly; it’s misleading. No germs can survive that level of radiation, right? Wrong.
Your microwave oven hosts its own microbiome. What exactly does this mean? Although it has long been thought that microwaves kill bacteria and ensure food safety, a study by the Institute for Integrative Systems Biology suggests that some microbes can withstand radiation and even flourish in certain parts of the appliance. There is no need to panic, though; your microwave is not any dirtier than other areas of the kitchen. Nevertheless, these findings serve as an important reminder of the necessity of regular cleaning to maintain microwave hygiene. The good news is that it’s easy to do with materials from your kitchen.
Materials needed
- Water
- White vinegar
- Baking soda
- Sponge or microfiber cloth
- Microwave-safe bowl
- Dish soap
Step-by-Step Cleaning Process
Step 1: Prepare the cleaning solution
In a microwave-safe bowl, mix equal parts of water and vinegar, or substitute the vinegar with lemon juice for a fresh scent. If you’re tackling tougher stains or want extra cleaning power, consider adding a tablespoon of baking soda. This solution will help loosen grime and deodorize your microwave during the cleaning process.
Step 2: Microwave the solution
Place the cleaning solution into the microwave and heat it for 3-5 minutes on high, allowing the solution to boil and steam to form inside the unit. Once the time is up, do not open the door. Allow the solution to steam the interior. This steam loosens the grime and food particles that have built up on the microwave’s interior surfaces, making them easier to wipe away.
Step 3: Wipe down the interior
Once the steam has had time to loosen the grime inside your microwave, open the door and remove the turntable. Place it in the sink. Wipe down the interior using a sponge or soft cloth, paying special attention to the walls, ceiling, and area under the turntable, as these areas often harbor the most residue.
Step 4: Clean the turntable
Wash the turntable using dish soap and warm water in your sink. Scrub it well to remove any food particles or sticky residues. After washing, dry the turntable thoroughly with a clean towel or let it air dry to ensure no moisture remains. Once completely dry, place it back inside the microwave.
Step 5: Tackle tough stains
Address any remaining tough stains by making a paste of baking soda mixed with a small amount of water. Apply this paste directly to the stains and allow it to sit for 5-10 minutes. The baking soda will break down the grime, making it easier to scrub away.
Cleaning the exterior
Clean the exterior of the microwave by wiping down the door and exterior buttons with a damp cloth. You can use a degreasing cleaner, like Simple Green or just vinegar. Pay special attention to the handle and buttons, which tend to accumulate fingerprints and grease.
Prevention tips
It’s always better to prevent a big mess rather than clean it. To prevent future splatters and buildup in your microwave, always cover your food with a microwave-safe lid or a paper towel before heating. This simple practice can significantly reduce the occurrence of messy splatters inside the appliance. If you forget to cover last night’s leftovers before reheating—no worries. However, be sure to wipe up spills immediately after they happen. Prompt cleaning prevents the spills from hardening and becoming more difficult to remove later.
How often should you clean your microwave?
Professional cleaners recommend deep cleaning your microwave at least twice a week. If your microwave gets heavy use or you frequently cook foods that splatter, more frequent cleaning may be necessary. Removing food particles reduces the risk of creating a breeding ground for bacteria. Regularly wiping it down after each use can help prevent buildup and make deep cleaning easier.

